These are my last few days here in Liverpool, and as I sit in a half-empty house, looking at the Mersey through the window, all I can think of is what a ride it’s been.
We came here earlier this year because my wife was working on a project and I tagged along. Since she had to work long hours we looked for a coworking place where I could work from, to force me out of the house and interact with the autochthonous species.
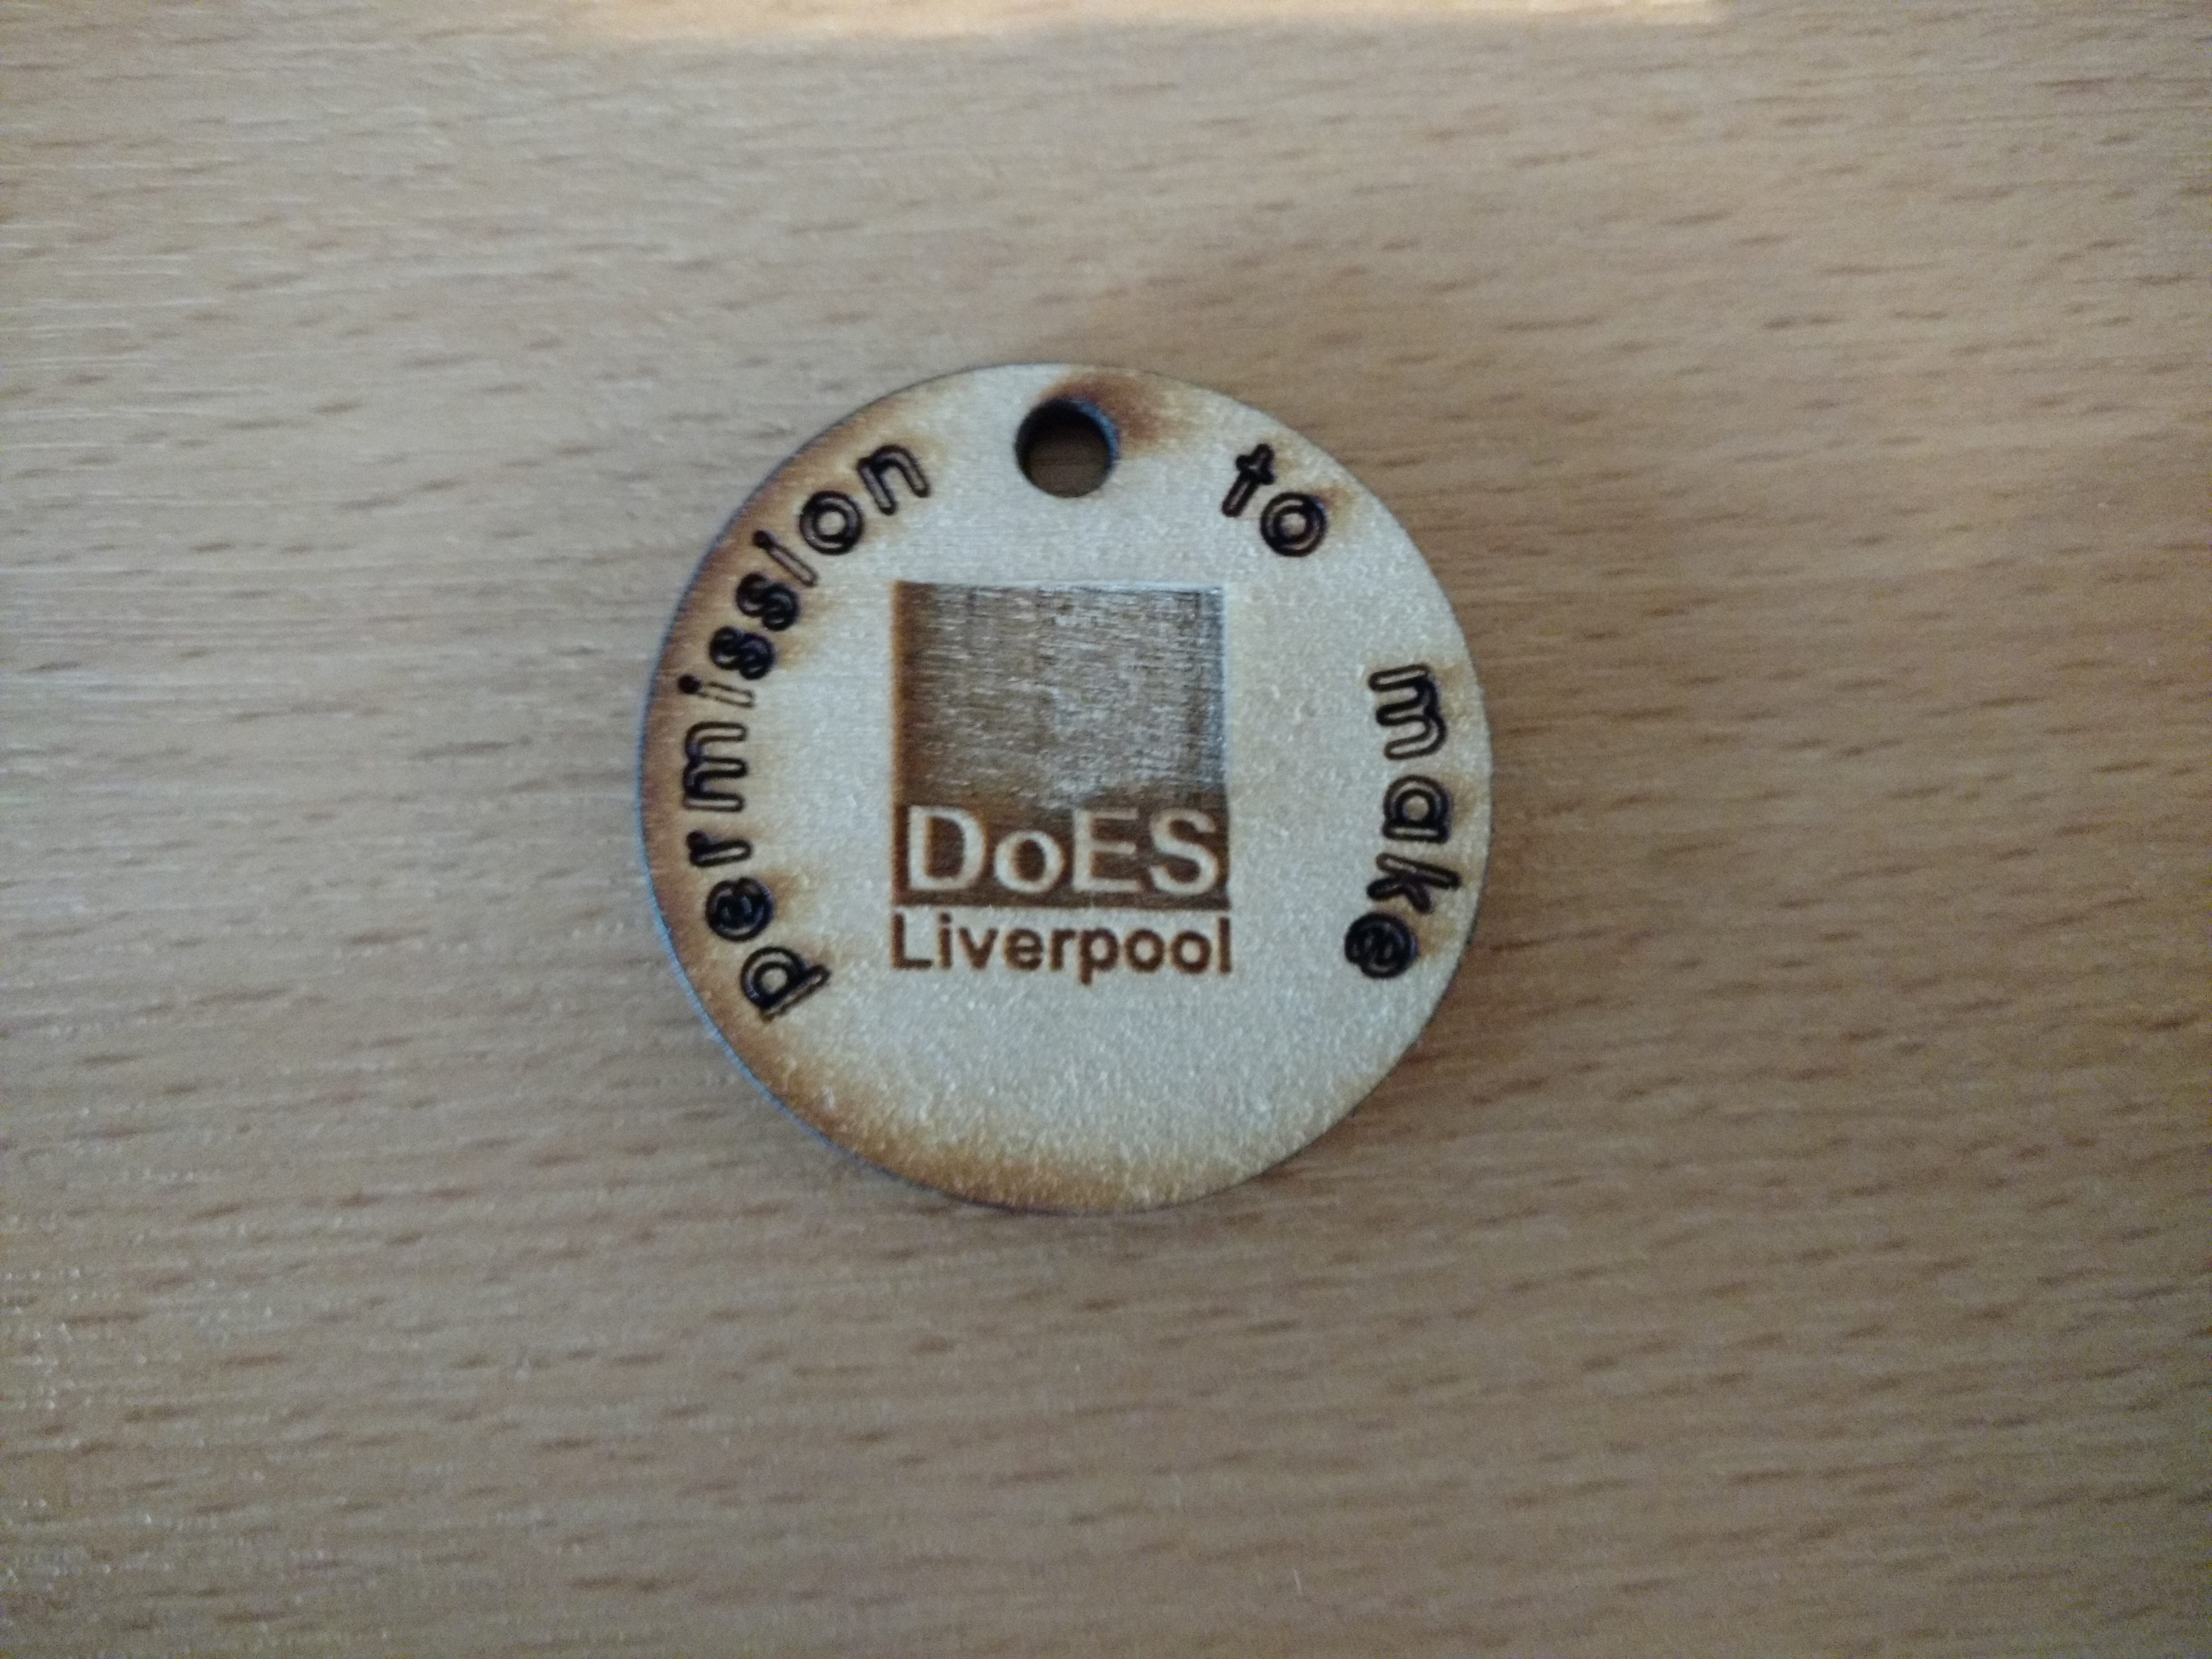
The place we found forever changed me, in ways I’d never foresee. Allow me to introduce you to DoES Liverpool. For many, Liverpool is home of The Beatles and a place where you’ll never walk alone. Not for me. For me Liverpool will always be home of DoES, where I developed my dormant maker skills and brought them to a whole new level.
Browsing through the website I discovered there were laser cutters and 3D printers available, that got me hooked on the spot. Bu then I came across the about page, which outlines their mission, so I fell in love.
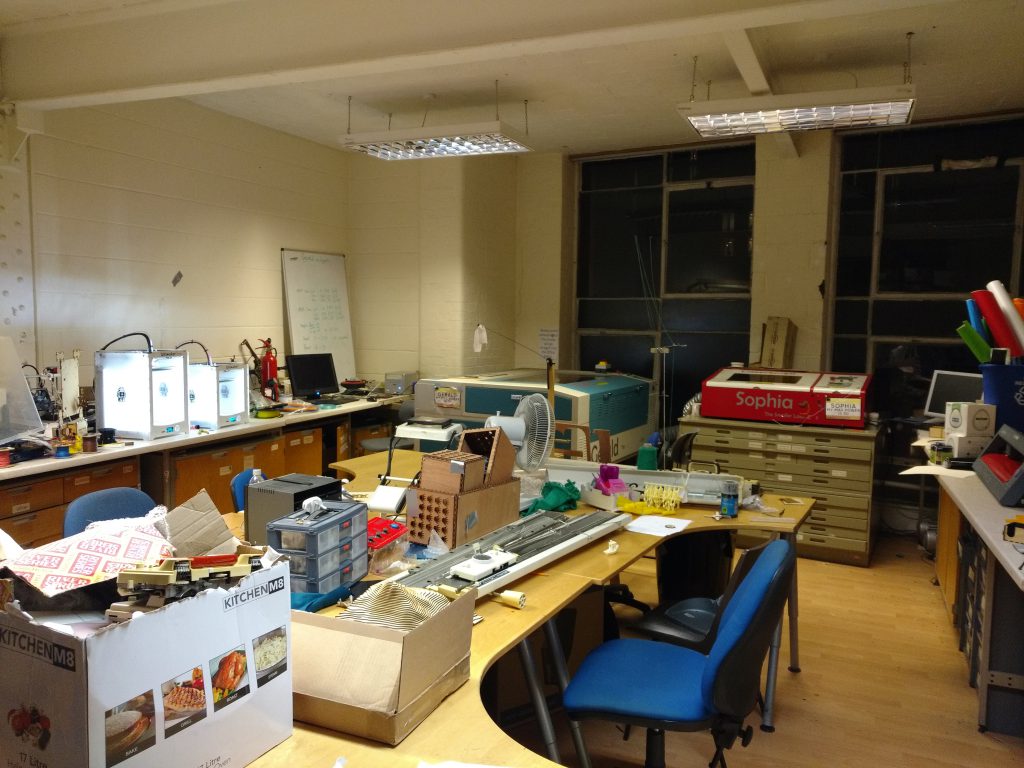
The people there are incredible. Everyone is ready to teach you how things work, have a chat about what they are working on, and help you out when something doesn’t work as expected. At first I wasn’t sure if it’s the maker spirit that makes everyone nice around here or something about the wind on the Merseyside, but be that as it may, Scousers are a great bunch.
Being happy and having a sense of accomplishment are key to producing good work, and thanks to the positive and makery environment, these past few months have been really productive for me. I’m really going to miss this.
If you find yourself in Liverpool, visit DoES, your first day will be free if you bring cake, what’s there not to like?
I guess this is goodbye. Thanks for all the tips and tricks, for maker nights and maker days, and for bearing with me and my million questions 🙂 I hope you folks find the right building to grow DoES and make it even greater. Hopefully I can visit one day.
So long Liverpool, I’ll cherish the memories; and godspeed, DoES, godspeed!