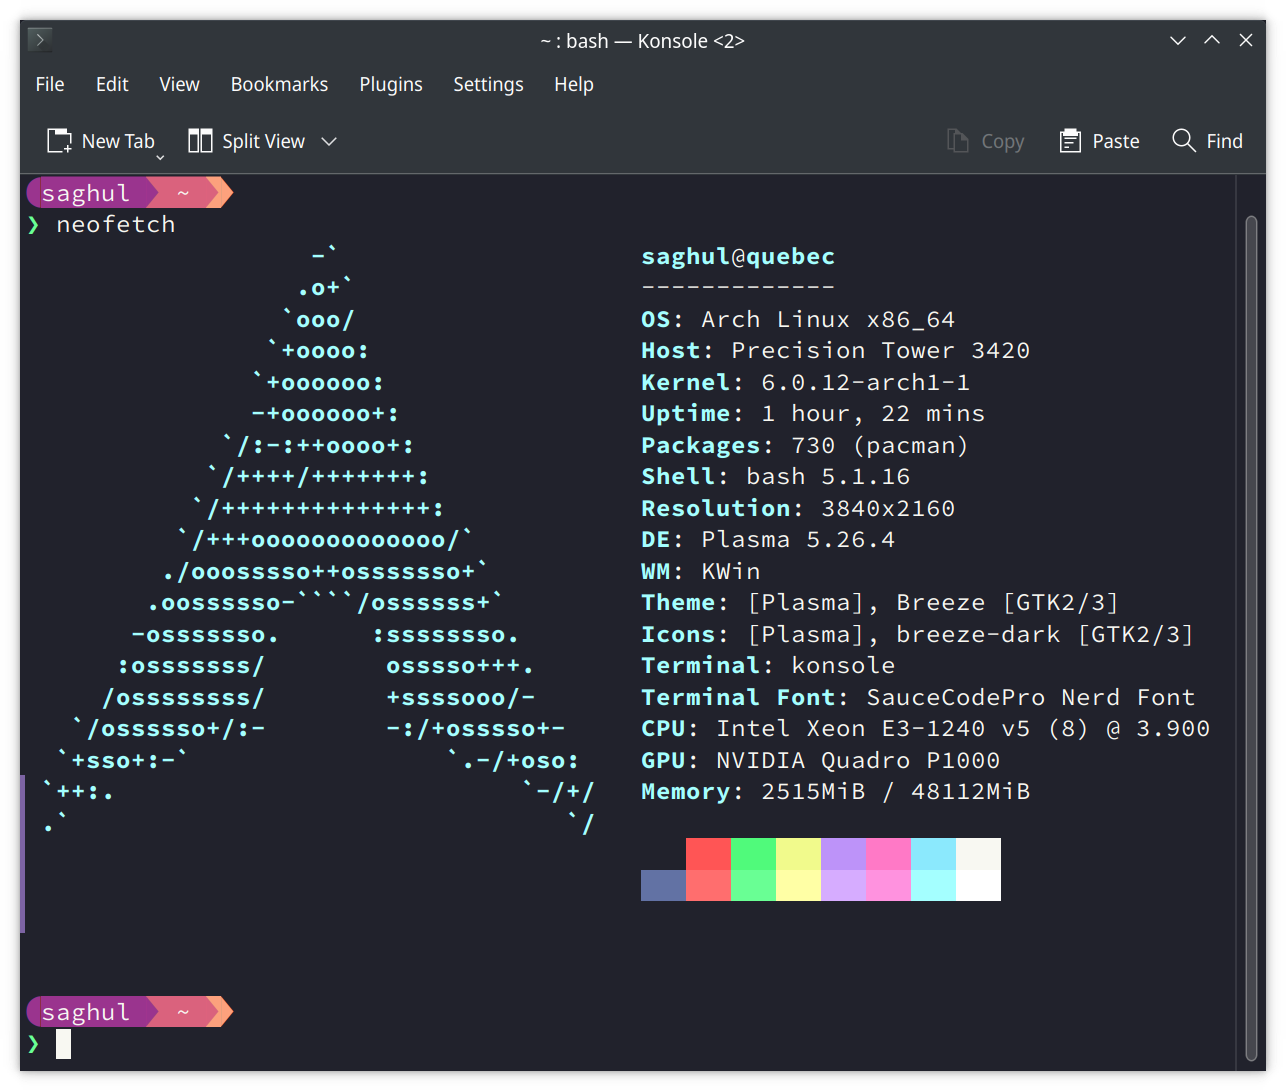
Today I’m going back to the roots of when I started tinkering with Linux. I have recently got a new (old) workstation and I decided to install ArchLinux on a test SSD drive I had lying around. Once I got things working I thought I’d migrate to an NVMe drive, instead of reinstalling. This post describes the process. All of it can be found on the wiki, but since there are many options available, I’m posting the route I took.
Getting ready
First, get all your stuff ready. In my case I had the SSD connected as the main drive, and I had plugged in the NVMe drive too.
Time to partition the NVMe drive. I used fdisk, which I’m most familiar with. Since the SSD got a GPT partition table when I first installed the system with archinstall (I know, I know…) I just did the same. This is the layout I chose for my 1TB drive:
- Partition 1: 512 MB, type: EFI System
- Partition 2: 128 GB, type: Linux filesystem
- Partition 3: the rest, type: Linux filesystem
The first partition needs to be formatted as FAT32 and will later be mounted in /boot. I’m a simple man so I used etx4 for my other partitions, / (root) and /home respectively.
mkfs.fat -F 32 /dev/nvme0n1p1
mkfs.ext4 /dev/nvme0n1p2
mkfs.ext4 -m 0 /dev/nvme0n1p2
Note that I chose to not reserve any space for the home partition.
With all this ready, I got myself an Arch ISO onto a USB stick and booted off it.
Copying the files
Once booted on the Arch installer it’s time to copy the files from the current SSD onto the NVMe. For that I prepared a simple directory structure on /mnt: I’d have old and new directories, each with boot, root and home sub-directories to make things easier.
mkdir -p /mnt/old/{boot,root,home}
mkdir -p /mnt/new/{boot,root,home}
Then mount all the partitions in the right order. Double check, I got this wrong once!
mount /dev/sda1 /mnt/old/boot
mount /dev/sda2 /mnt/old/root
mount /dev/sda3 /mnt/old/home
mount /dev/nvme0n1p1 /mnt/new/boot
mount /dev/nvme0n1p2 /mnt/new/root
mount /dev/nvme0n1p3 /mnt/new/home
Time to copy over the files! The wiki has a pretty good explanation of the rsync command you want to use.
rsync -qaHAXS /mnt/old/boot /mnt/new/boot
rsync -qaHAXS /mnt/old/root /mnt/new/root
rsync -qaHAXS /mnt/old/home /mnt/new/home
Once that is complete (didn’t take long since there wasn’t much data to begin with), our target drive is ready!
Adjustments on the new drive
Copying all the files is the step that likely takes the longest, but we need to do some maintenance tasks before we are able to boot off the NVMe drive.
First, let’s update /etc/fstab on the new system. The partition UUIDs will be incorrect (pointing to the old drive) so put the new ones in. Where to find the UUIDs? blkid is our friend here.
Next, we need to reinstall the bootloader. I’m not 100% sure this is necessary, but the wiki mentions it and it won’t harm anyway. This step will vary depending on your bootloader, since I’m using systemd-boot this is what I did.
Mount the new system and arch-chroot into it:
umount /mnt/old/{boot,root,home}
umount /mnt/new/{boot,root,home}
rm -rf /mnt/*
mount /dev/nvme0n1p2 /mnt
mount /dev/nvme0n1p1 /mnt/boot
mount /dev/nvme0n1p3 /mnt/home
arch-chroot /mnt
Now (re)install the boot loader:
bootctl installThen we need to configure the boot loader to use our new root partition. Edit the file located at /boot/loader/entries/arch.conf (the actual filename may vary) and on the last line you’ll see something like options root=PARTUUID=. Adjust it to match yours, again, using blkid. Note that this is PARTUUID and not UUID!
There is one last step before we are done, regenerate the kernel image.
mkinitcpio -PThat’s it! All we now have to do is unmount everything and reboot!
umount /mnt/home
umount /mnt/boot
umount /mnt
halt
Unplug, remove the SSD, and boot up!

I use Arch, BTW.